


外壁塗装・屋根塗装工事
外壁・屋根塗装工事 例
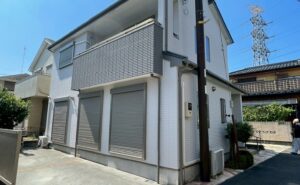
工事例:相模原市 T様宅/外壁・屋根 塗装工事
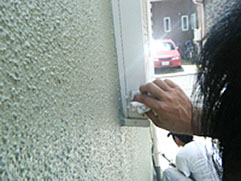
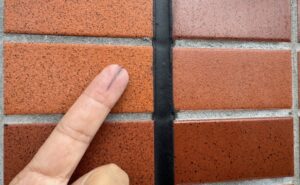
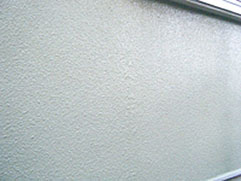
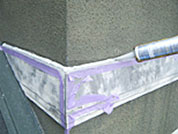
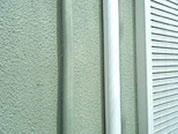
外壁塗装・ひび割れ補修
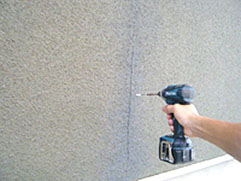
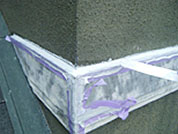
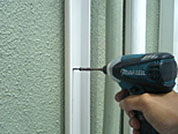
浮き外壁ビス止め
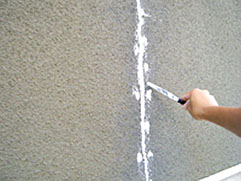
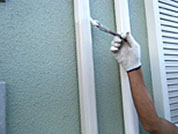
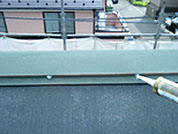
シーリング
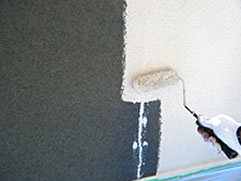
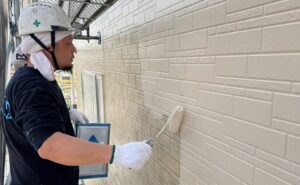
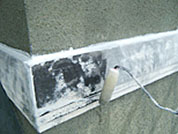
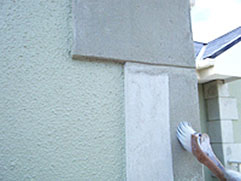
下塗り
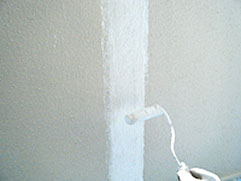
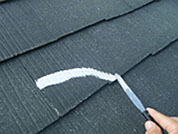
ひび割れ部分タッチアップ
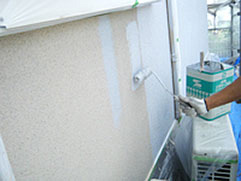
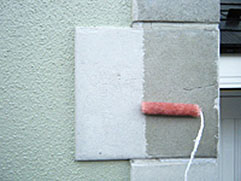
防水中塗り
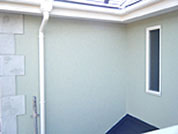
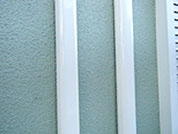
上塗り2回(仕上がり)
作業解説
割れて、浮いている外壁はビスで止めて、しっかりシーリングしました。 ベージュ色の下塗り、白色の高弾性中塗りを塗ります。特にひび割れ部分は、 何度も重ね塗りします。グリーン系の弾性セラミックシリコンを2回塗って仕上がりです。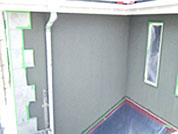
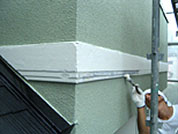
養生
下塗り
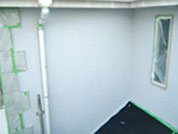
防水中塗り
上塗り2回
作業解説
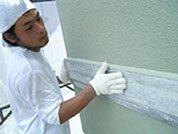
塗らないところはしっかり養生。 破風と雨どいは壁とのバランスを見て白系の色で仕上げました。幕板・破風塗装
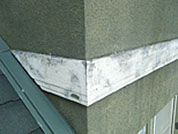
施工前
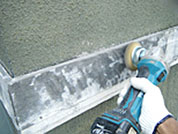
サンダーケレン
プライマー塗布
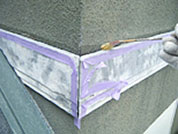
シーリング充填
シーリングならし
シーラー2回
ケレン
上塗り2回
作業解説
悪くなった塗装は、しっかり落とします。上側と隙間にはしっかりシーリングを施しました。 吸い込みが激しかった為、シーラーは2回塗りました。上塗りもしっかり2回塗り。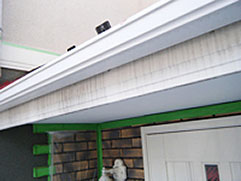
施工前
雨どい取り外
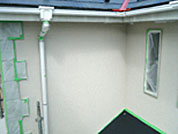
仕上がり
作業解説
雨どいが外壁に接触しているので、外して塗装しました。化粧カバー取付け・塗装
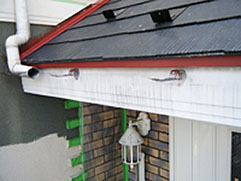
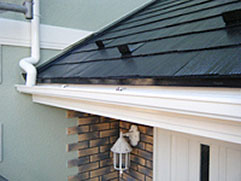
施工前(外壁塗装後)
化粧カバー取付け
化粧カバー塗装
仕上がり
屋根塗装
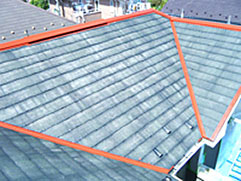
シーラー・錆止め
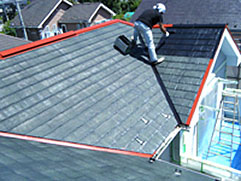
上塗り1回目
上塗り2回目
作業解説
屋根の板金にはしっかり錆止め。浸透性シーラーを塗り、上塗りもキッチリ2回塗りしました。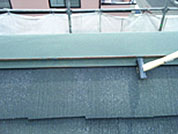
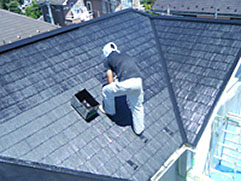
釘打ち込み
シーリング

錆止め
割れ補修
作業解説
浮いた釘は打ち込んで、シーリング。錆止めも塗ります。割れた屋根材にはしっかりシーリング。タイル 吸水防止剤塗装
吸水防止剤塗布 1回目
吸水防止剤塗布 2回目
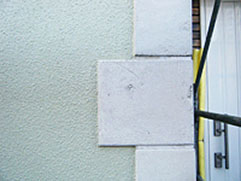
乾燥後(仕上がり)

吸水防止剤塗布 1回目
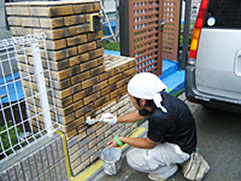
吸水防止剤塗布 2回目

乾燥後(仕上がり)
作業解説
コーナータイルや門塀のタイルにも、吸水防止剤を塗装。(乾くともとの色に戻ります)ベランダ 吸水防止剤塗装
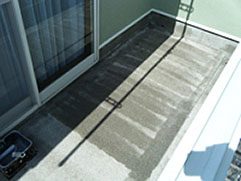
1回目(横塗り)
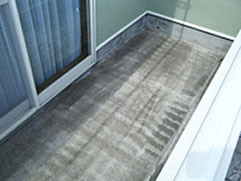
2回目(縦塗り)
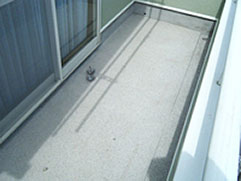
乾燥後(仕上がり)
作業解説
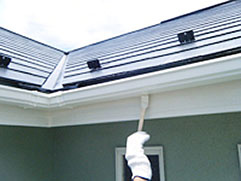
ベランダにも、吸水防止剤を塗装。塗りムラを無くすために、1回目と2回目で、塗る方向を変えます。軒天塗装
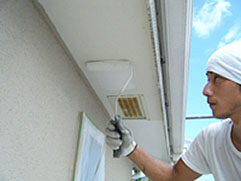
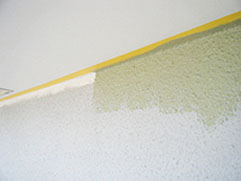
作業解説
軒天は透湿ある塗料で塗装をしました。壁際はテープを張って真っ直ぐに仕上げます。その他の塗装
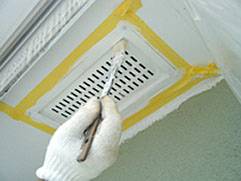
換気口塗装
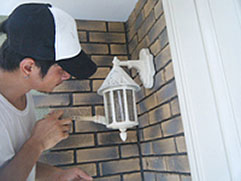
照明器具塗装
雨どい塗装
作業解説
ローラーの入らない部分は狭い場所は、刷毛でしっかり塗装をします。仕上げ